Pages

Showing posts with label Winter ONEderland. Show all posts

Wednesday, March 26, 2014

Winter ONEderland (Party)

The actual day of the party was far more stressful than I had anticipated even with me getting all my prep done days before hand.  Of course, most of my stress was self-induced because I was determined to ask my guest for minimal help. I honestly wanted to invoke the element of surprise, so I thought it would be best for them to show up as guest and see the space once it was fully transformed into a Winter ONEderland Affair.  I was so serious about this that days before my first guest was scheduled to be at the house my car were loaded with all the party supplies (doing this also helped ensure I didn’t forget anything). With the exception of welcomed help from Tabby and my cousin Meka (the two people that had all the details on how I wanted everything to go) everyone else was excused from set up duties.

It was the perfect plan and the weekend was going flawlessly until...

We got to the venue and they wouldn’t let us begin set up.  Remember they had a ton of rules? Well the amount of time allocated for set up was one of them and they were very strict about it. Like we all should up ready to go at the time I tripled checked the venue would be available and it was a no go for getting in. Are you serious? Three cars filled to the max. Tabby’s car had the kids' chairs, crafts she made, and all the baked goods. Meka’s truck was filled with balloons. And my car had EVERYTHING else.  Yet we couldn’t get in and for a planner like me this made my nerves bad because I had timed everything perfectly. Turns out all the people I had spoken to had it wrong and we only had an hour to set up (grinds teeth and rolls eyes). An hour was just not going to be enough time to get everything in the venue and set up before guest would arrive.  If ever I wanted guest to show up late to something this was one of those times lol. Once they allowed us in we put on my track shoes and immediately begin the race to turn their Preschool pod into Winter ONEderlanad. I went from bringing items through the doors, to moving tables for the proper layout, to my top priority...those darn classroom boards. Until I noticed the first guest not only arrived but was looking for me. Oh no I had to leave and trust the execution of my vision to Meka and Tabby (they were nervous as hell but I knew they had it).
Before
 After
Other Wall Decor
Tables

I was just thankful that the plan was for guest to start the party in the soft playroomJ and diverted the guest attention away from the unfinished reception area by taking them down there. As guest arrived to the playroom I greeted them at the door, and each little guest received a sparkle mini top hat. Thus beginning the fun, from what I could tell every child (and parent) had a BLAST! With a few of my friends having kids that were older then the venues age restriction I had to ensure there was something for the big kids to do. 
While the little ones tumbled in the soft playroom, the big kids swam in the rec center Olympic sized pool...

The Entry
After a ton of fun in the soft playroom, guests headed upstairs in the Winter ONEderland Affair where they were greeted by...delicious food, beautiful decor, and music. As guest turned the corner to enter the reception space they were greeted with one of the décor highlights...Tabby’s paper snowflakes.  With the entry wall covered in them, and the beautiful wire trees (purchased on sale at home Goods) anchors, it was the perfect guest photo op.

The Kiddie Corner
With the Year of 1st Boards as the center of this table balloon filled back drop this table set up was executed just as I expected. The snowflake and snowman centerpieces lined the center of the table, while each child place was set with a white appetizer plate and their named sippy cup. It was adorable.
The Food
OMG!!! Can you say delicious? With such a hectic weekend I knew I wouldn’t have time to entertain guest, cook, set up the venue etc..., so I had most of  food for the party catered (with the exception of my friend Tonya’s banging tomato soup, my mother in laws awesome meatballs (to die for), and a few other items). When contacting the catering company I described my event and let them know that I was looking for bite sized kid friendly portions. Together we developed the perfect age appropriate menu which they DELIVERED in every sense of the word. I wanted to the food presentation to look a certain way so I pulled out my white platters and to add a little something, something to the table.  Most items we served in individualized portions...Tomato soup shots with cheesy bread, parfait sized pasta salad, mac and cheese balls, etc.  Needless to say the food a huge hit amongst the tiny tots, big kids, and adults.

The Cake & Deserts
Where in the world do I begin with this table? Tabby created a fabulous impromptu banner and back drop for the table. However, one the table the cake from my favorite local baker Misty stole the show.  It was beyond FABULOUS. I sent her a sample photo of the look I wanted but she truly out did herself and made this one her own. With such a beautiful cake on display I was actually surprised that the tiny tots even noticed the other treats on display (Peppermint chocolate covered pretzels, banana snowmen, and mini and full sized cupcakes, and bite sized snowflake cookies), but they did and were delighted to indulge in them .
The Hot Chocolate Bar
I’m sorry but there just had to be something for the parents and since this was a family friendly venue no alcohol was allowed lol. No worries for this momma...I’d make sure my adult guest got to enjoy somethingJ. Trust me I did by adding an adult flare to a childhood treat.  To warm guest up and embrace the brisk air I decided to have a hot chocolate bar was in order. But, any old hot chocolate bar wasn’t going to cut it.  I wanted one parents would enjoy too so, I ordered gourmet marshmallows with Flavors like peach bourbon, s'mores, cookies 'n' cream, and ice cubes (peppermint) for guest to add in their hot cocoa. In addition to the gourmet marshmallows, I also had mini marshmallows. Handmade cozies (by my awesome friend Chelsi) for guest to protect their hands. And the cutest wooden snowflake spoons for stirring.
The Favors
The favor table was filled with goodies for the little guest and adults. Parents got to take home one of my hometown favorites Synfully Sweet candy apples. While the each kid received goodie bag filled with a winter coloring book, snowflake-shaped crayons, and a number one chocolate lollipop (in either pink or purple).  Not to mention each child was able to take their snowman sippy cup home as well.
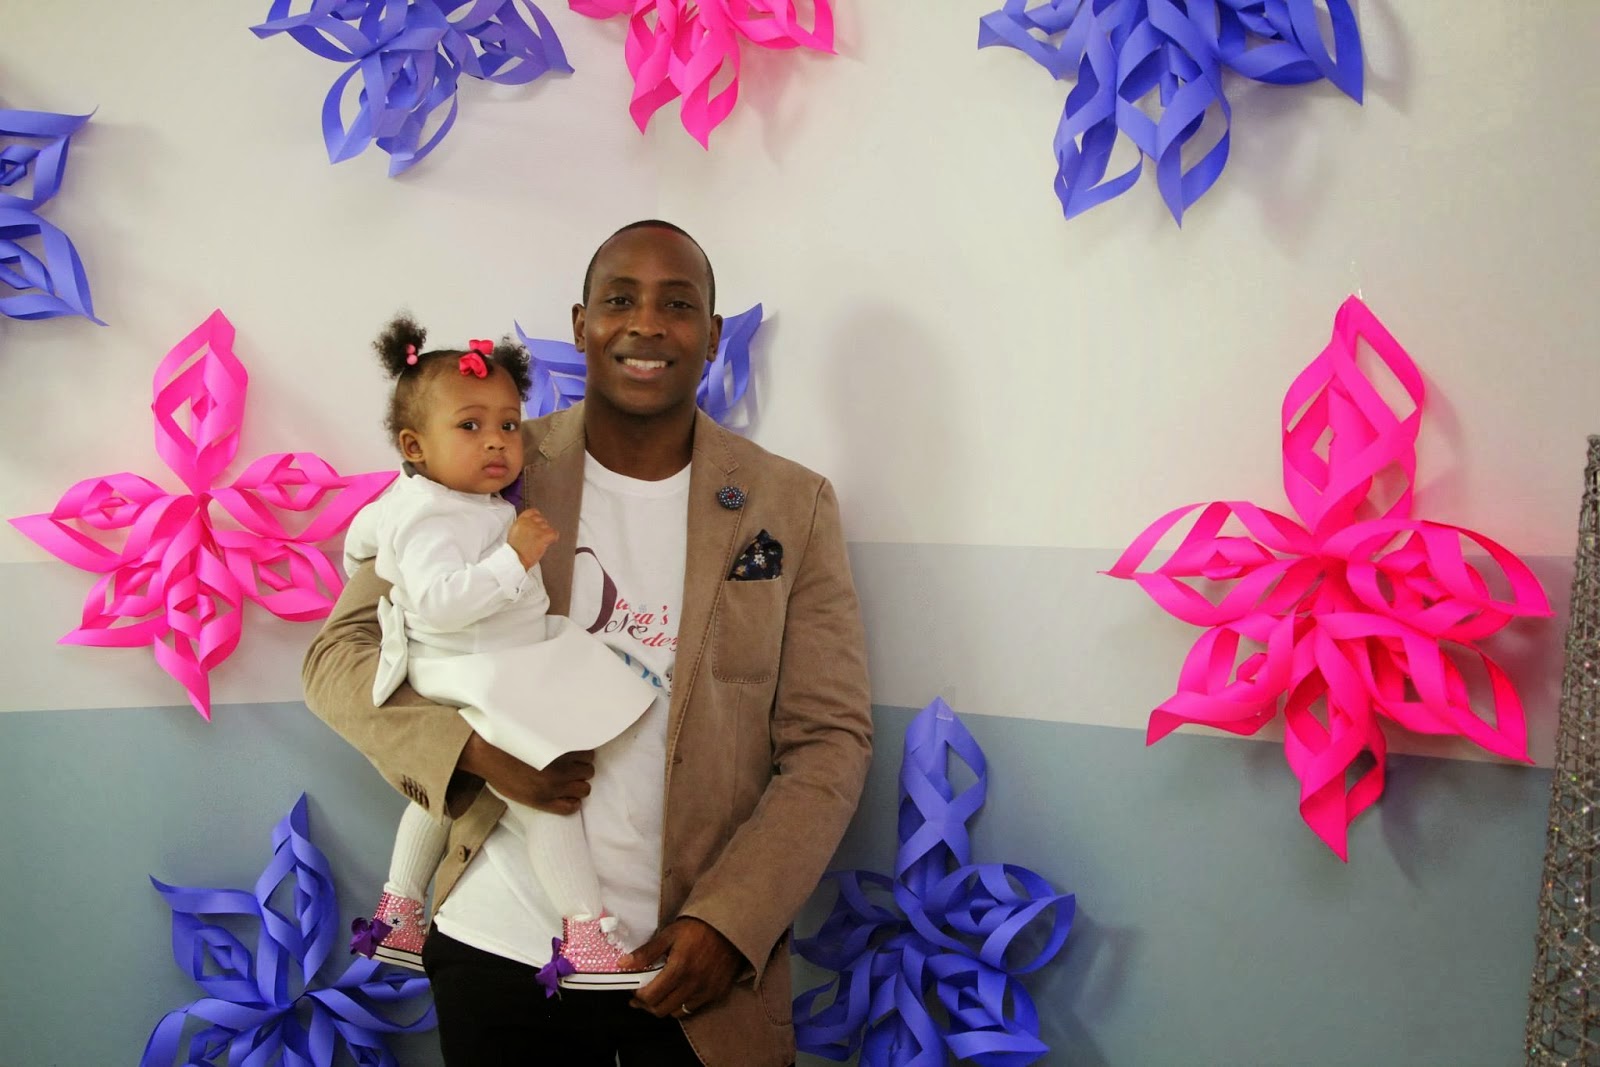
The Parents
As exhausted as we were Dom and I still showed up looking fly in our custom t-shirts designed by me of course.


That's all folks...

Monday, March 17, 2014

Memory Lane: Winter ONEderland (Venue)

To begin, I thought I’d start with Olivia’s Winter ONEderland (first birthday party) fun.  By way of background, I'll be completely honest.  I was totally one of those parents that yelled and screamed from the rooftops that I didn’t believe in first birthday parties (hangs head in shame and shrug shoulders). I would jokingly refer to first birthday parties as... the parent’s party - lol. At the time, I truly didn’t believe in them until about 8 or 9 months after I had Olivia Madison. Right around that time... I decided to reconsider this whole first birthday thing and that I wanted one for my babyJ.

I mean, why not? She was growing like a weed, hitting every milestone I’d read about, and she LOVED birthday parties.  We had been to a few of my coworkers' children's parties and she had a BALL. Denying her of her own was no longer an option and, with the amount of family and friends that wanted to celebrate with her, a big affair was in order. I found my inspiration for a Winter ONEderland here (Rustic Winter Wonderlandand shared the new plans with my boo, Tabby of (Shipwrecked On Fabulous Island).

Now Let’s digress for a moment and put things into perspective. Olivia Madison was born on Tabby’s birthday and if you head to her blog you’ll find she is all about a celebration. Naturally, Tabby was bummed by my initial 'No Parents Party' protest and had been trying to convince me of otherwise. When I changed my mind, I knew she would be all in and she was!  After all, they are exactly 30 years apart.  To Tabby, this meant she’d plan to make this a “Thirty-ONEderland” - lol. She’s a trip like that and would have totally done A Thirty-ONEderland if her plans to host a “Thirty minus the One” party didn't suit her better.

Anyway, we began looking for venues for the big day.  Although Olivia Madison loved the bounce house parties we attended, for the cost I wanted a place that catered to her age.  During our venue conversation, Tabby opened my eyes to a new concept (at least new to me) when she mentioned soft playrooms.  I scoured the internet for one in my area and really got annoyed when there were none.  I continued to look until I found the next best thing - one in a nearby area that suited our needs. You better believe this determined momma found the place to host what became...Olivia’s Winter ONEderland.

Soft Playroom


Olivia and Zion Playing in the Soft Playroom

I couldn’t believe recreational centers even had spaces like this for infants and toddlers.  This playroom was awesome and everything I wanted for her first party. Now of course, with every great play area there’s a shortfall somewhere in the venue and, this one had many - lol.
1. Capacity.  The playroom only allowed for 15 tiny tots and 25 adults. On top of that, space was also limited to 25 total people in the reception area (the area where food, drinks, and cake would be served). With a list that could easily top 60 people... can you say anxiety?

2. Age. The playroom was lovely and did exactly what I wanted and catered to ages 5 and below and that’s ALL a good thing, right? Not when you have friends with kids in both age brackets (under and over 5).

3. Spacing. The reception area spaces were very limited I seriously only had two options. One was an enclosed room that would never work, the other was the preschool pod.  The pod was the main area outside the rec center's preschool classrooms. The preschool pod was bigger than the enclosed room so I knew I could make it work... even though it had the kids' art work displayed throughout.

4. Walls. How can I put this eloquently? The nice "art" *side eye* "work" the children made just didn’t match my fabulous theme so I needed to cover it - lol. This venue, however, doesn’t allow you to decorate and hang things on the walls... they can’t be serious!


Other than these many few details it was EVERYTHING so I went ahead and booked it. Spent the car ride home talking to Tabby and her beautiful daughter, Zion, about how fabulous it was and our plans to circumvent the system and turn this into a fabulous Winter ONEDerland affair - lol.

Whew!  That’s more probably more than you ever wanted to know about the venue for a first birthday party but... I felt it was necessary to share the backstory to set the tone for Olivia’s Winter ONEderland party.  

Stay tuned for more trips down Memory Lane as it pertains to Olivia’s first birthday; we've got a LOT to talk about!

Thursday, March 13, 2014

A Year of 1st Board (Tutorial)

As I mentioned in my post about this board here it was truly an emotional labor of love.  So, I’m sharing this tutorial for those of you interested in capturing some of your memories in this manner.

Supplies
  • White wood board(I picked mine up from lowes for $12.)
  • Chalk
  • Photos
  • Chalkboard paint 
  • Wet towel
  • Hot glue gun and sticks

   Step by Step Instructions
1. Wipe board down

2. Paint board with two coats of chalkboard paint

3. Let paint dry and settle for 48 hours

4. Spread chalk across the entire board


5. Wipe board completely clean


6.  Frame *See framing instructions below*

7.    Glue pictures unto framed board (as you would like).


8.    Take chalk and decorate your board with reflective words (as you wish).
Deatils on Framing...
I originally had planned to frame this board myself but didn’t have the proper tools. Going to Michael’s or any other framing place was out of the question for a board this size.  So of course I turned to my favorite handy couple The Killings. These two love taking a on home improvement project (Finished their whole basement, laid their own hard wood floors, etc) and if nothing else I knew they would have the tools. Get this tho, Denise also twist my hair lol (yup my friend is multi-talented and a mini perfectionist). Any way when I reached out via text (sent her a few photos of the board) she let me know to bring it over during my upcoming hair appointment so Des could work on it for me...SCORE. I took my painted board with me and Des (another mini perfectionist) worked on it the entire time. Unhappy with his initially product he kept it. I got it back a few days later and it looked Amazing.In writing this tutorial I reached out to team Killings for framing instructions and they provided the following.

Framing Supplies
• Pneumatic nailer/stapler,
• finish nails,
• Wood filler,
• Sand paper,
• Miter saw
• Woodgrain Milwork (door/window trim) 11/16in. x 2-14 x8in.
• Metal L shaped bracets for support
• White paint
Step by Step Instructions
1. Measure your board (mine was 36 x40).
2. Using the miter saw cut the wood corners at a 45 degree angle.*Please note: The cuts should be slightly longer than the board (just in case there are changes that need to be made)*.
3. Use nailer at the corners to nail the frame together.
4. Apply wood filler to fill-in nailer holes and let it dry.
5. Once dry sand with sand paper to make smooth.
6. Paint frame and let it dry.
7. Once paint dries put the board on the back of the frame and screw the L brackets in each corner for support.

Happy crafting fellow heartbeats